Tuesday, October 24, 2017

Decorated Wine Bottles

Click below for the YouTube video (in Malayalam)


Supplies:
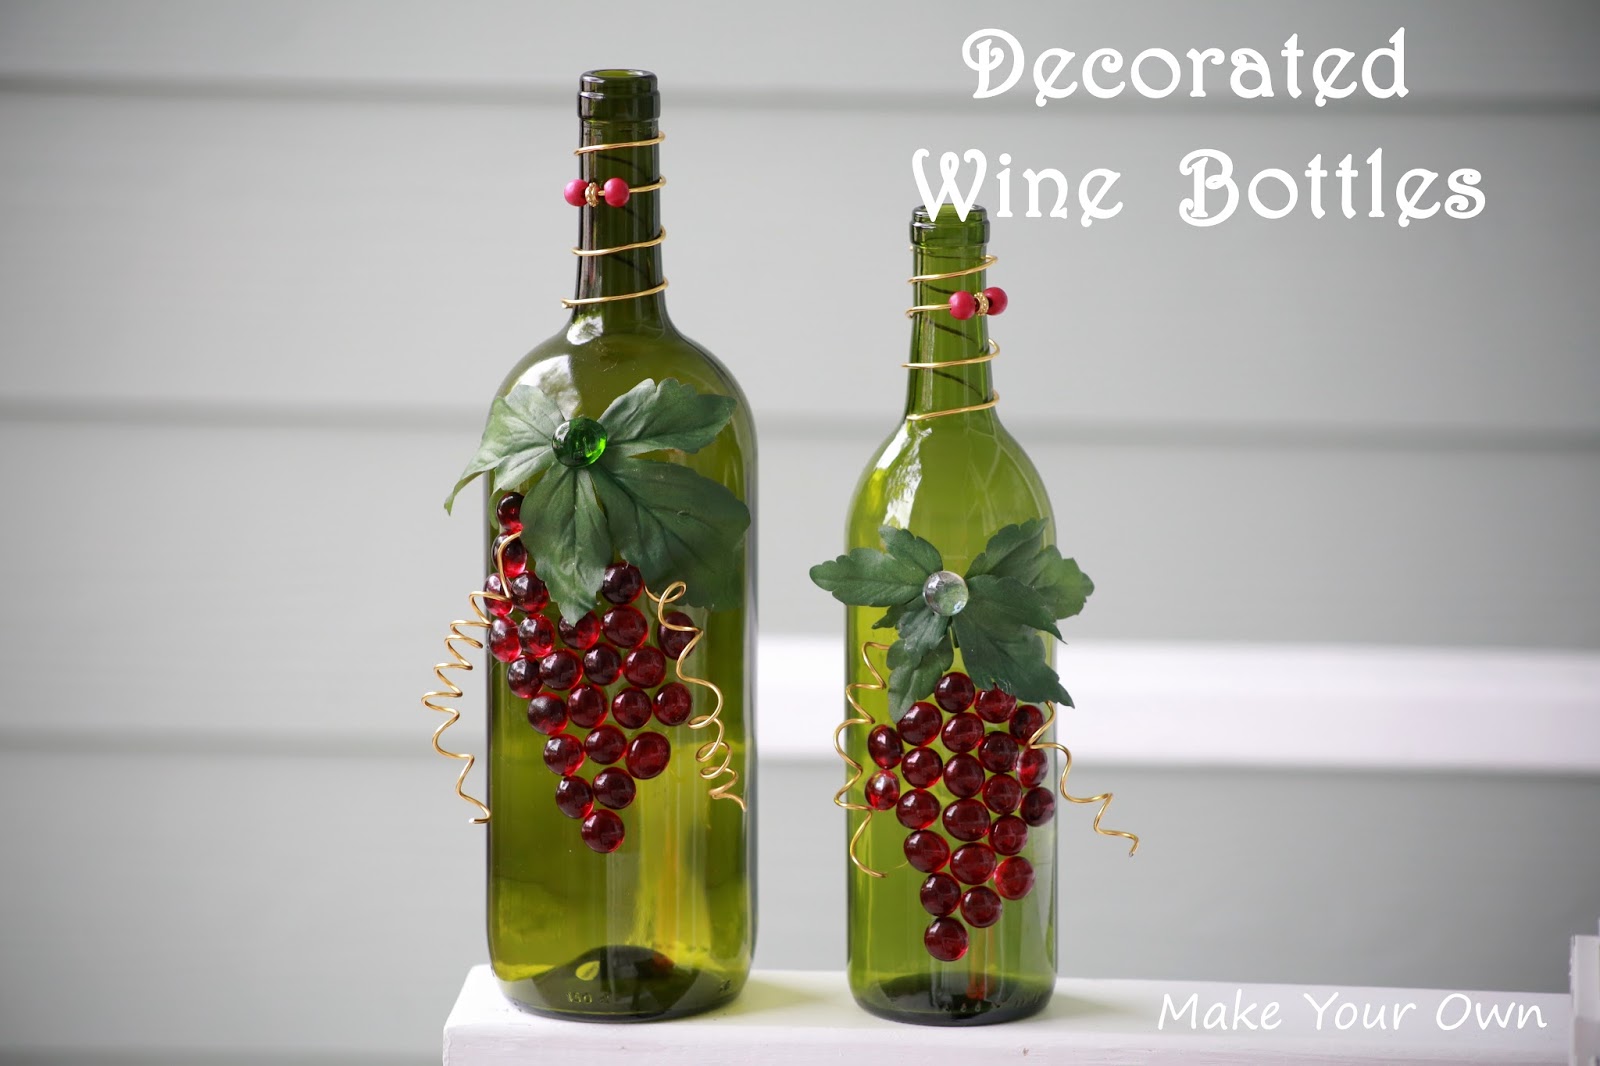
Empty wine bottles (preferably tinted bottles)
Glass marbles and beads
Floral wire
Leaves
Hot glue gun/ industrial grade glue (E 6000)

Tutorial:
Clean up wine bottles and remove labels. (Soak in dish soap and scrub to remove the labels or stick them into the dishwasher)

Using a pen/pencil make a coil with floral wire.


Using hot glue or  E 6000 attach the leaves, glass marbles, and coiled floral wire onto the bottle to make a grape cluster. Embellish the bottle neck with some beads and coils.


Friday, October 20, 2017

Fall Burlap Wreath with Faux Maple Leaves: Tutorial


Supplies Needed:
Styrofoam sheet, at least 2" thick (or use wreath form)
Burlap ribbon- 9 yards
White fabrics strip-  9 yards long and 3 inch wide
Orange fabric- a small piece
Faux maple leaves
Glue
Utility knife
Sewing machine
Matching thread
Velcro

Tutorial:
1. Lay the styrofoam sheet flat on a surface and draw two concentric circles with 15" and 18" diameter. Cut along the lines to make the wreath form.


2. Coil the white fabric strip around the styrofoam wreath form and glue the ends together. This step will take care of any imperfections in cutting and also prevent any small styrofoam pieces falling off later. (Omit steps 1 and 2 if you are using a store bought styrofoam wreath form)


3. Loop the burlap ribbon around the wreath form and make sure to maintain the same the distance and angle between the burlap edges in each turn. Glue the ends together.


4. Cut a piece of orange/red color fabric just to cover around 1/3 of the foam surface. This fabric strip is to attach/sew the leaves. To create volume and fluffiness, slightly fold the leaves along the center and sew onto the fabric. Start sewing leaves at one end of the fabric, sew a leaf, then two leaves in the next row, and keep on increasing the number of leaves to 3 or 4 as you approach the center. Once you reach the center, then start sewing the leaves at the other end, and continue to the center. 


5. Attach the fabric with the leaves onto the wreath using glue/Velcro.


Monday, October 16, 2017

Slinky Pumpkins-Fall Decor


Supplies:
Jumbo Slinky (orange color)
Pipe cleaner (green color)
Glue (I used E6000)
Acrylic colors-green and black
Paint brush
Yarn (orange color)
Twigs

Tutorial:
As the slinky I used was too large, I broke it to make two pumpkins. Glue the ends of the slinky together, then tie a knot using an orange color yarn in the center.


Paint the twigs for the stem and use a coiled pipe cleaner as the squiggly. Glue the twig and pipe cleaner on the top center of the pumpkin. Allow the glue to dry. (You may also add a fake leaf) That's it!!


Related Posts Plugin for WordPress, Blogger...